Skip to main content
Image
Image
Secondary Menu
Login
Search
Subscribe
Main navigation
Topics
Top Stories
Nature
Advocacy
Lifestyle
Climate
Opinion
Energy
Education
Business
Events
Resources
Texas Green Jobs
North Texas Farmers Markets
GSDFW Sustainable Leadership Awards
North Texas Natural Spaces
Texas Green Report
Podcasts
About Us
Contact
Support
Donate
Advertise
Secondary Menu
Login
Search
Subscribe
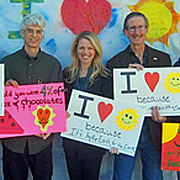
Solar Valentine
Photo Credit
Anna Clark
Photo Description
group from Solar Valentine
Image